Plantar Fasciitis Taping

Plantar Fasciitis Taping For Superior Arch Support

Plantar Fascia
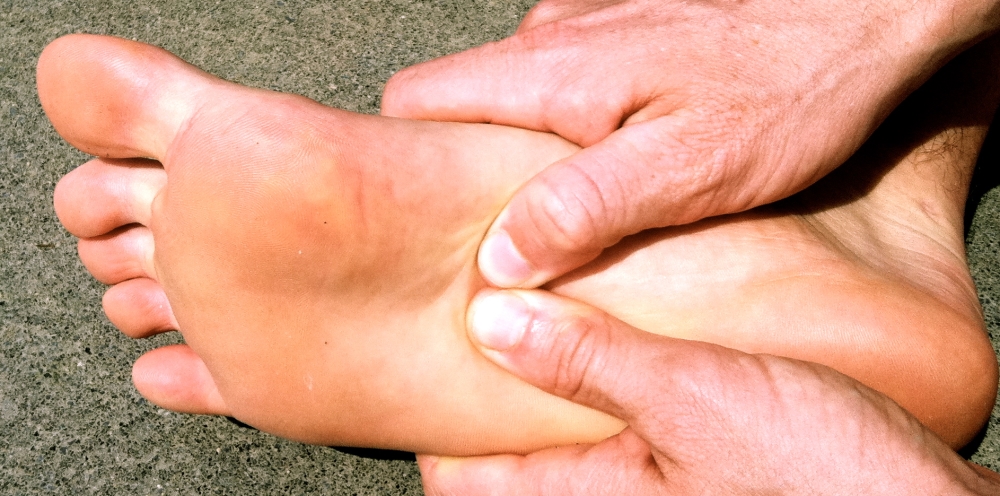
Those that have suffered shin soreness due to flat feet, fallen arches, or Plantar Fasciitis , will know that it can be a painful condition affecting the tissue in the foot arch that connects the heel bone and toes.

Plantar fasciitis treatment can take a few different forms such as orthotics and taping, one technique that can assist recovery is plantar fasciitis taping.

So I would like to share with you a great plantar fasciitis strapping technique in the video below, which shows how to apply Rigid Strapping Tape to the foot arch. Enjoy!

Great Technique to Tape for Arch Support

(courtesy of highly experienced Sports Trainer, Cam Wray, ex-international and national rugby sports trainer)

Cam’s method of strapping for plantar fasciitis, or low-dye taping, is a sound technique and use the following steps:

  • a lax anchor around the ball of the foot
  • 2-3 figure-8’s starting from anchor around the heel (with tension) and crossing back to the anchor
  • 1 strip around the outside of the foot and the heel and back on the opposite side
  • then a series of lateral strips, from outside to inside of the foot locking the previous strips all together and lifting the arch up

Plantar Fascia Taping

Preparation for Plantar Fasciitis Taping

Before you start low-dye taping, for optimum results it is recommended to prepare the foot by doing the following:

  • Wipe the foot with a clean dry rag, removing any sweat or contaminates that will reduce the tape adhesion.

Correct Tape Tension

When taping the feet to support the plantar fascia, remember not to tape the anchor to tight, as it will prevent the proper foot movement and will become uncomfortable for the athlete.

It is also important when applying the figure-8’s and lateral strips, to apply good tension, keeping in mind that you want to pull the arch up for support.

What items do you need for Plantar Fasciitis Strapping?

To tape for flat feet properly, you will need the following items:

Here’s What You Need To Do Next…

First…

I want you to leave me a comment on this page, and let me know what else you’d like to learn in this SportStrap “How To Strap” series.

Then…

While this method is quiet simple, make sure you practice it once or twice in the next week, while its fresh in your mind.

And finally…

Let me know what you think of the SportStrap “How To Strap” series.  Remember subscribe to this newsletter below if you haven’t already.

For links to Previous episodes, here you go:

[optin]


Have a most outstanding day,

Cade Arnel

SportStrap.com.au ©2013


strap a shoulder

How To Apply The Double Shoulder Strapping Technique

Double Shoulder StrappingThis week I thought I’d take a break from our Kinesiology Taping Series, to feature a great Double Shoulder Strapping technique.

Although in sport, shoulder injuries don’t normally come on pairs, this technique is often used to protect the shoulder joints from injury, particularly in rugby and to a lesser extent AFL, much the same as Chris Judd has through his football career.

Most Common Shoulder Injuries

As mentioned in our previous “how to tape a shoulder” article, the most common shoulder injury, is the AC Joint injury, where the inside ligaments of the shoulder can be strained, stretched or damaged. The purpose of this technique is not only to prevent this from happening, but to ensure the shoulder joint does not dislocate.

So below I would like to share with you a video, where experienced Sports Trainer, Cam Wray, shows a great technique for protecting the shoulder from injury using Sports Strapping Tape.


Best Double Shoulder Strapping Technique

As you can see from the video, Cam’s method gives great support to both AC joints and surround ligaments.

The tape is applied with the arm in a slightly bent position, as follows:

  1. 2 Anchors are applied, one over the shoulder and the other around the bicep (with little to no tape tension).
  2. 2-3 basket-weave strips in both direction are then applied, criss-crossing over the point of the shoulder, pulling the shoulder firm into the joint
  3. 2-3 corkscrew strips are also applied, first starting from the nipple area, up and over the point of the shoulder and wrapping around the arm.
  4. Apply some more strips over the anchors to lock down the the previous 2 steps.
  5. Repeat steps 1-3 on the opposite arm.
  6. Finish off with Elastic Adhesive Bandage over and around the arm, shoulder, and around the upper torso.

What items do you need to Strap an Shoulder?

So now that we have covered the technique, lets take a look at what items you will need to complete the job properly:

For optimum results when taping the shoulder, it is recommended to prepare the shoulder by doing the following:

  • For hairy guys only, Tape or Shave off any hair around the shoulder our chest area.
  • Apply Pre-Tape Spray to improve Tape Adhesion, or to prevent tape trauma during removal.
  • If nipple irritation is a concern, protect the nipple with an adhesive foam ring.

Correct Tape Tension

Its also important when strapping the shoulder that it is not taped to tight, as it will prevent the blood flow around the shoulder and restrict movement.

The rigid tape application in particular should be applied with little or no tape tension.

Here’s What You Need To Do Next…

First…

While this method is quiet simple, make sure you practice it once or twice in the next week, while its fresh in your mind.

Then…

If you have any questions about strapping shoulders (or the “How To Strap” series), leave me a comment below on this page.

And Finally…

To stay update with more great “How To Strap” articles, remember to subscribe to this newsletter below (if you haven’t already).

For links to Previous articles, here you go:


[optin]


Have a most outstanding day,

Cade Arnel

SportStrap.com.au ©2012


12 Golden Principles for Applying Kinesiology Tape

Olympic Sprinting KinesiologyIn the last article of the “Ultimate Guide to Applying Kinesiology Tape”, we covered how kinesio works and also why it’s becoming so popular.

Have you managed to spot any Olympic Athletes using Kinesiology Tape?

In case you missed it, it’s been popular in sports like, Beach Volleyball, Diving, Tennis, Judo, Rowing, Hockey, Handball, Gymnastics, 100m Sprint & Cycling event, here’s some of the Olympic Kinesiology Action:

Olympic Cycling Kinesiology

(Click images to Enlarge)

This week, before we jump into the specifics of taping each body part, I wanted to share a video covering the “12 Principles for Applying Kinesiology Tape“.

3 Main Application Methods

Sensory Application Method

Olympic Volleyball Kinesiology

Whether you are applying the Precut Kinesiology Tape ,or from a Roll, it is important to use the following method for a Sensory application:

  1. Apply the beginning of each section with no stretch in the muscle or tape (1-2 inches).
  2. Once the beginning of each section is applied.
  3. Stretch the muscle and not the tape during application, till the last section remains (last 1-2 inches).
  4. Apply the end of section with no stretch in muscle or tape.

Structural Application Method

Olympic Rowing Kinesiology

Whether you are applying the Precut Kinesio Tape, or from a Roll, it is important to use the following method for Structural Support:

  1. Apply the beginning of each section with no stretch in the muscle or sports tape.
  2. Once the beginning of each section is applied.
  3. Stretch the tape and not the muscle during application, till the last section remains.
  4. Apply the end of section with no stretch in muscle or tape.

Microcirculatory Application MethodOlympic Volleyball Kinesiology

When you are applying the Lymphatic Spider it is important to use the following method for increased blood flow and improved healing:

  1. Stretch the  muscle and not the tape during application.
  2. Apply at the top of affected area following along lymphatic pathways.

The Best Kinesiology Tape Application Principles

Preparing the Skin

  • Before applying the tape, the skin will need to be dry, and free of hair, creams and oils for best adhesion.
  • Clipping or shaving the intended area of application may be necessary.

Skin Condition

  • Do not apply the tape over broken, damaged or sun burnt skin.
  • For sensitive skin, a test piece may be applied to determine if any skin sensitivity will result.
  • If itching or irritation occurs, remove the tape immediately.
  • No increased discomfort should be experienced while wearing the tape.

Tape, Exercise & Water

  • Before exercise or bathing, apply the tape for approximately 1 hour to allow glue to properly activate.
  • The tape is both waterproof and breathable.
  • It may be worn during showers and baths.
  • Do not rub the tape while bathing.
  • After showering, pat the tape dry with a towel.

Duration of Wear.

  • A single tape application can be worn for up to 5 days.

Applying the Anchor & Adhesion Points.

  • Apply the start & end sections, as well as any anchor points  (approximately 1 to 2 inches) with no stretch on the tape or in the muscle.

Keeping the Adhesive Clean.

  • Avoid touching the adhesive side of the tape during application.
  • Like strapping tape , touching or contaminating adhesive will decrease the holding strength on the skin, and may lead to premature peeling.

Removing the Backing (Pre-Cuts Spiders).

  • To remove the paper backing from a Precut Spiders, peel it back in small amounts and lightly apply the tape to the skin.
  • Repeat this method until tape is fully applied to the skin.

Activating the Adhesive.

  • After tape is fully applied, lightly rub over the top of the tape from the start to the end of each section. This will activate the glue & smooth out any creases.
  • Apply one section at a time before applying the following sections.

Removing the Tape.

  • The kinesio tape is best removed in the direction of the hair growth (usually away from the centre of the body).
  • Gently roll off the tape as the skin is stretched under the tape.
  • Avoid removing the tape while wet.

Other Articles in the Ultimate Guide To Kinesiology.

Other Kinesiology articles:

Next Article: >> “How to Kinesiology Tape a Knee”.


Share the Luv!

If you found this article helpful please help me by completing the following:

  • Leave a comment below, to let me know:
    • Your experience with Kinesio Tape,
    • Or any questions you have about it!
  • Add your “Like” via your favourite social media buttons below 🙂
  • Want more articles as released… Subscribe to our Newsletter below.